Showing posts with label crafting. Show all posts

Wednesday, 21 December 2016

Christmas at ours 2016

I thought I would share some pics of our Christmas decorations this year as I always love seeing how people decorate their homes at this time of year. Last year I went a bit overboard with the festive decor as we were hosting Christmas at our little London house, but this year we are going to my parents' in Wales so I kept things a little simpler. Also, what with general end of year busyness, finishing work last week and general tiredness, I decided to take the pressure off and only do what I felt like. 


We bought a small tree again this year (despite R insisting he wanted an 8 footer) otherwise our sitting room feels a bit crowded. My decorations were quite soft and neutral - silver, gold and brass baubles, rusty vintage keys, recycled glass, the gold and white clay leaves and stars I made (see here) and delicate starry paper garlands from last year. 


I made a garland for the mantelpiece with the eucalyptus leaves I painted last year, and rediscovered my trusty brown card bunting which always makes me feel Christmassy.


I decorated this beautiful silver birch branch with twinkly lights and two ceramic ornaments that were a gift last Christmas. Got to love a branch in a bottle. I also bought some fragrant beeswax candles from ebay and have been loving their sweet subtle smell.


Elsewhere in the house I made some easy Christmassy additions - some fairy lights in our green demijohn and baskets of vintage baubles, sparkling in the candlelight.


Last weekend we celebrated "fake" Christmas for my doctor sister who has to work over Christmas. We cooked a full Christmas dinner, played board games and dozed in front of the fire. With no present opening there was a lot more time to talk and enjoy everything properly - it was much more relaxing than real Christmas day!


I kept the table very simple - white cotton napkins tied with brown twine and little eucalyptus sprigs. Table adorned with dried orange slices and more of my clay decorations. And little name labels on brown card.


We re-painted our fifties unit recently and moved it into the kitchen and I have enjoyed turning it into a little festive corner adorned with candles and a big bowl of clementines. And I hung one of our twiggy wreaths above it.


So that is how things are currently looking at ours. Have you got round to decorating your home this year? I would love to know how if so! 

Sending lots of festive love,

Mary x

Saturday, 26 November 2016

Christmas 2016 - a DIY nature inspired Advent calendar


It's that time of year again folks! Just a few more days and the Christmas countdown will begin. I've been trying my best to resist all Christmas-related stuff over the last few months but there really isn't long to go now and I'm starting to feel just a little bit excited...! 

Incredibly for me, I have managed this year to get my arse into gear and make my advent calendar in good time for the beginning of December - woohoo! And not only that, I also managed to take some pictures and put together this little tutorial in case you fancy making your own. There's still time!


To make this advent calendar, you will need the following:

  • one stick or small branch
  • 25 small luggage tags (I used these)
  • 25 brown money envelopes (I used these)
  • A marker pen
  • Thread for hanging the envelopes
  • A hole punch
  • Sweets or chocolates
  • Sprigs of eucalyptus, feathers, dried orange slices or anything else you fancy to decorate your calendar
  • Mini pegs
  • Battery operated fairly lights (I used these)
  • Small inquisitive cat who will sniff everything and not help at all (optional) 


1. Start by writing your numbers on the luggage tags, and removing their strings. 


2. Next punch holes in your brown envelopes, making sure that the hole goes through both the envelope and the foldy over bit.


3. Fill your envelopes with choccies, making sure to quality test a few as you go


4. Cut a piece of thread (about 60cm) and fold it in half. Then thread the folded point through the holes in the envelope and luggage tag, passing the ends of the thread back through the loop to secure the envelope closed.


5. Line all your parcels up, ready to be hung. Meanwhile, attach a long piece of twine or string to both ends of your stick/branch and hang it up on the wall.


6. Secure your parcels to the branch, making sure to space them evenly and at differing lengths.


7. Now for your decorations. Using your mini pegs, attach your sprigs of foliage, feathers and orange slices to the strings and parcels as you wish. If you didn't want to use pegs, you could alternatively tie the decorations to the branch with thread.


8. Once you're happy with your decorations, cut off any long pieces of excess thread and wind your fairy lights around your branch so that the whole thing twinkles. 


9. Stand back and admire your handiwork!

Happy advent everyone, I hope the coming few weeks are not too stressful! Let me know if you attempt an advent calendar of your own - I would love to see it!

Mary x

p.s. if you would like to see my advent calendars from 2014 and 2015 they are here and here.

Tuesday, 22 November 2016

Christmas crafting at the MK Design Christmas Workshop

I was very lucky to be invited recently to a Christmas workshop hosted by interior designer Mathilde Kubisiak from MK Design and textile designer Ashley McDow of Occipinti. It was the perfect thing to start the Christmas season and got me feeling all festive! 

The invite promised an afternoon of Christmas faffery - creating Christmas decorations, wreath-making and present wrapping, all to take place in the incredibly tasteful Skandium shop in Marylebone. 


The shop provided the perfect backdrop for the workshop and it was wonderful escaping from the rainy November afternoon outside to spend a few hours quietly making and crafting. Skandium is like a sweet shop for design lovers, and I loved having the chance to nestle among such beautiful pieces of furniture, and observe them at close quarters. 


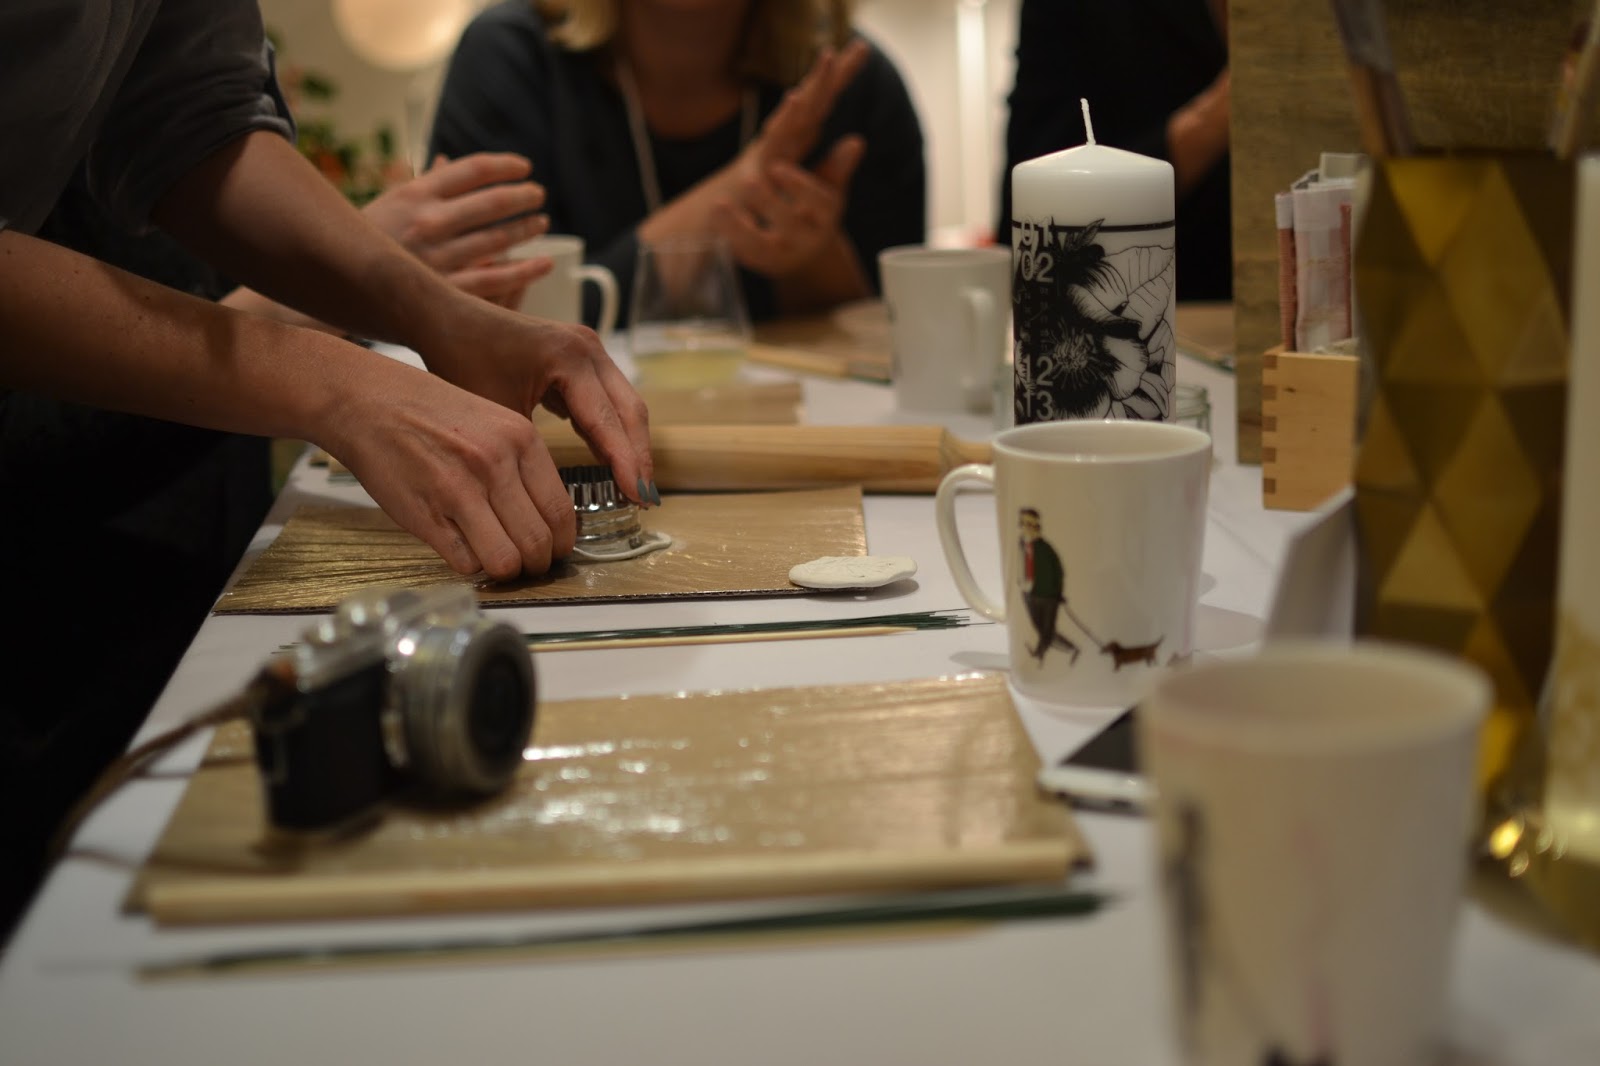
After a very warm welcome from Mathilde and Ashley, we sat down to begin our first activity, which was making Christmas decorations with quick dry clay. Mathilde gave us a short demonstration and then we were let loose. This was a craft that I had never tried before but has inspired me to order some more clay and make some more at home for the tree.


We used leaves, fir cones, lace and stencils to decorate them and cut out shapes with cookie cutters - very simple but I think they will look rather lovely among the dark fir of the tree, and they could also be used to decorate parcels, as name labels at a table, or as part of a handmade advent calendar.


After a brief pause for some delicious refreshments provided by Cake and Cucumber (faffing is hard work you know) and a refill of the fragrant glogg that was being liberally poured into everyone's mugs, we moved onto the next craft - wreath making.


This was the part of the day that I was most looking forward to, as I LOVE a wreath. We were given beautiful Danish designed Strups brass rings to use as the base, and all manner of foliage, wool and decorations to build our wreaths with. I used bushy sprigs of sweet smelling eucalyptus and some lovely soft grey ribbon, tied in little bows. We got to take the rings home and I have already made a second wreath with mine.


I loved seeing what everyone else did with their wreaths - so much variation and creativity!


After lots of oohing and aahing at eachothers' wreaths, we took another break for tea and cake, before moving onto our final activity - present wrapping.


The presents were already wrapped using Ashley's own designed wallpaper (which was absolutely lovely) and we were provided with a vast selection of ribbons, tags and other decorations to prettify our pressies. Mathilde and Ashley were on hand to give tips about how to make our pressies look tidy and professional.


I used some brown paper ribbon, natural leather cord and sparkly thread on mine and finished it off with a little feather label. Simple but pretty. I particularly liked the presents decorated with sprigs of rosemary and dried flowers - something that I often do with my Christmas presents too.


We left the workshop with a bag of gorgeous goodies and lots of inspiration to use in the run up to Christmas. My mind immediately started turning to all the Christmas crafting I want to make time for this year - advent calendar, more wreaths, tree decorations, cards etc etc!! 

Thank you so much for the wonderful workshop Mathilde and Ashley! 

If you fancy a bit of Christmas crafting and styling yourself, Mathilde and Ashley are doing another workshop on 10 December - details here.